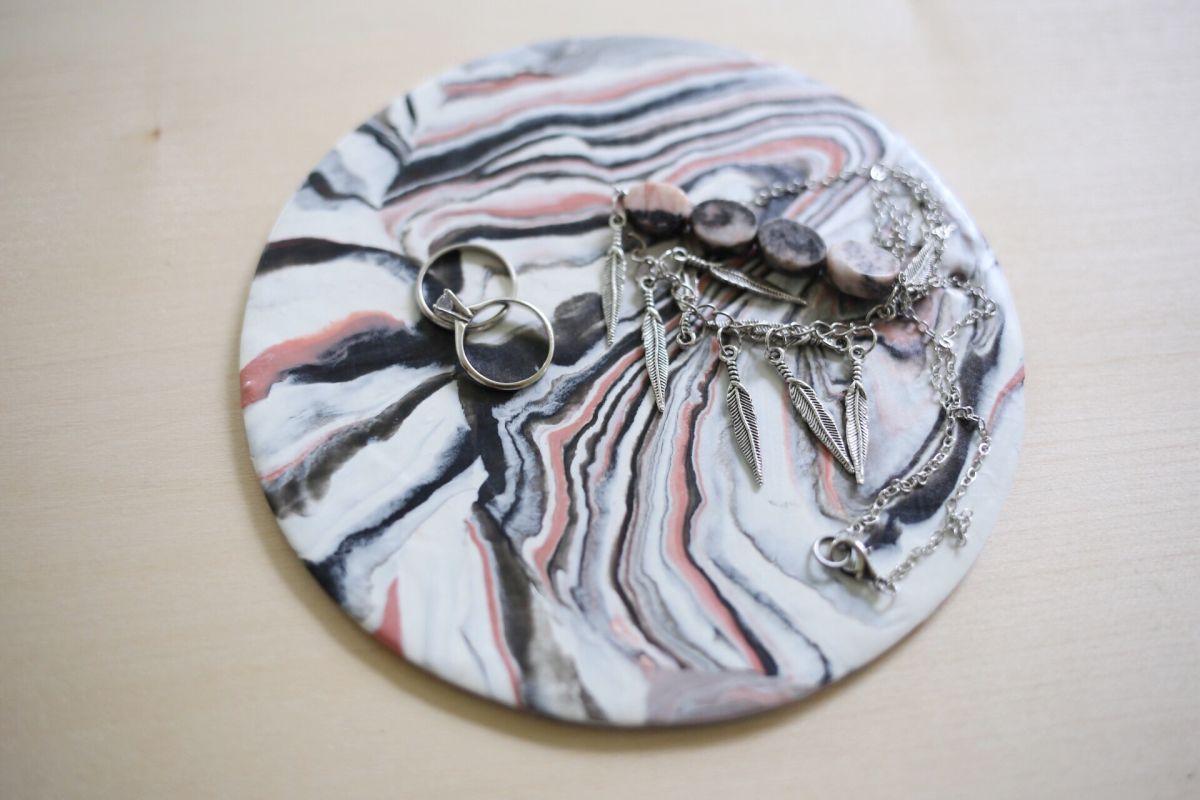
DIY Marble Jewelry Dish With Clay - How To Keep Them Organized
We all can hold that marble designs are fascinating and beautiful, and its a design that's fun and trendy. Here is a creative project that involves clay and a load of mesmerizing swirls. Create your own marble jewelry dish in only a couple of minutes.
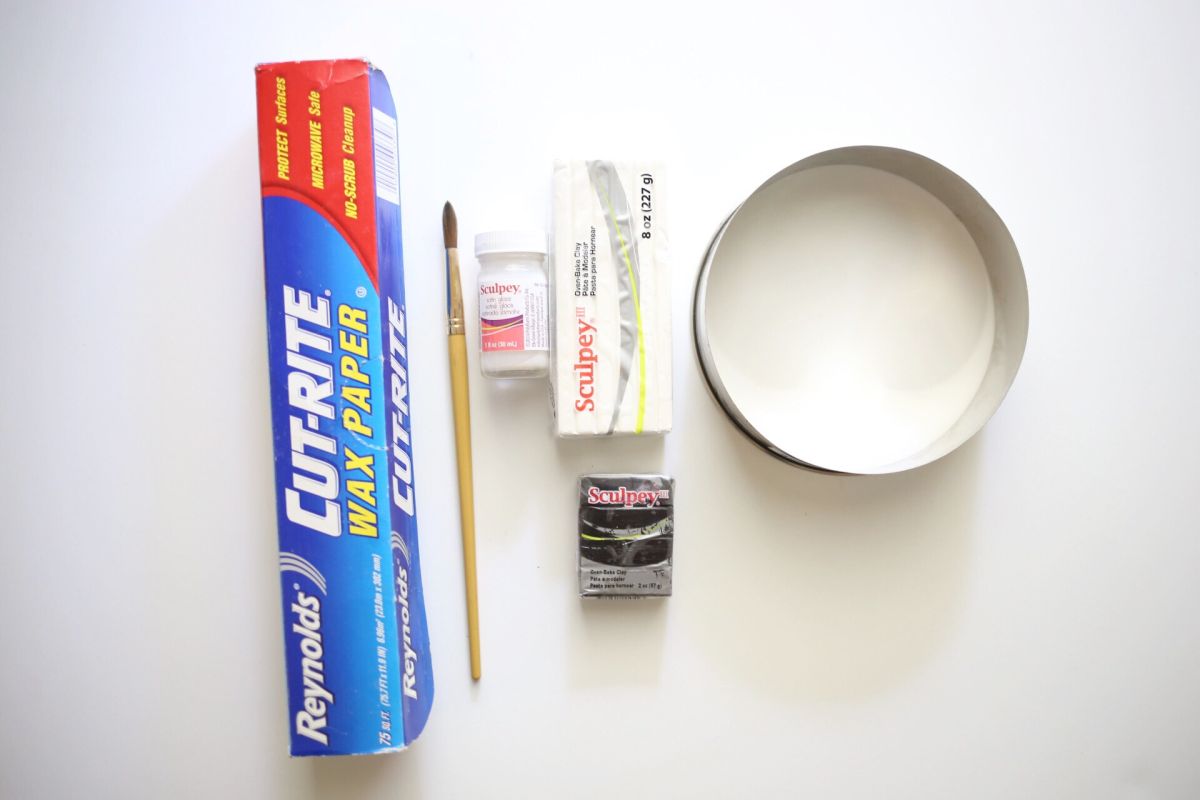
Materials you volition need to create the jewelry dish:
- 4 oz polymer clay (colors of your option)
- Polymer clay glaze
- Paint brush
- Roller pivot
- Wax paper
- six″ cookie cutter
How to make the jewelry dish step by stride guide:
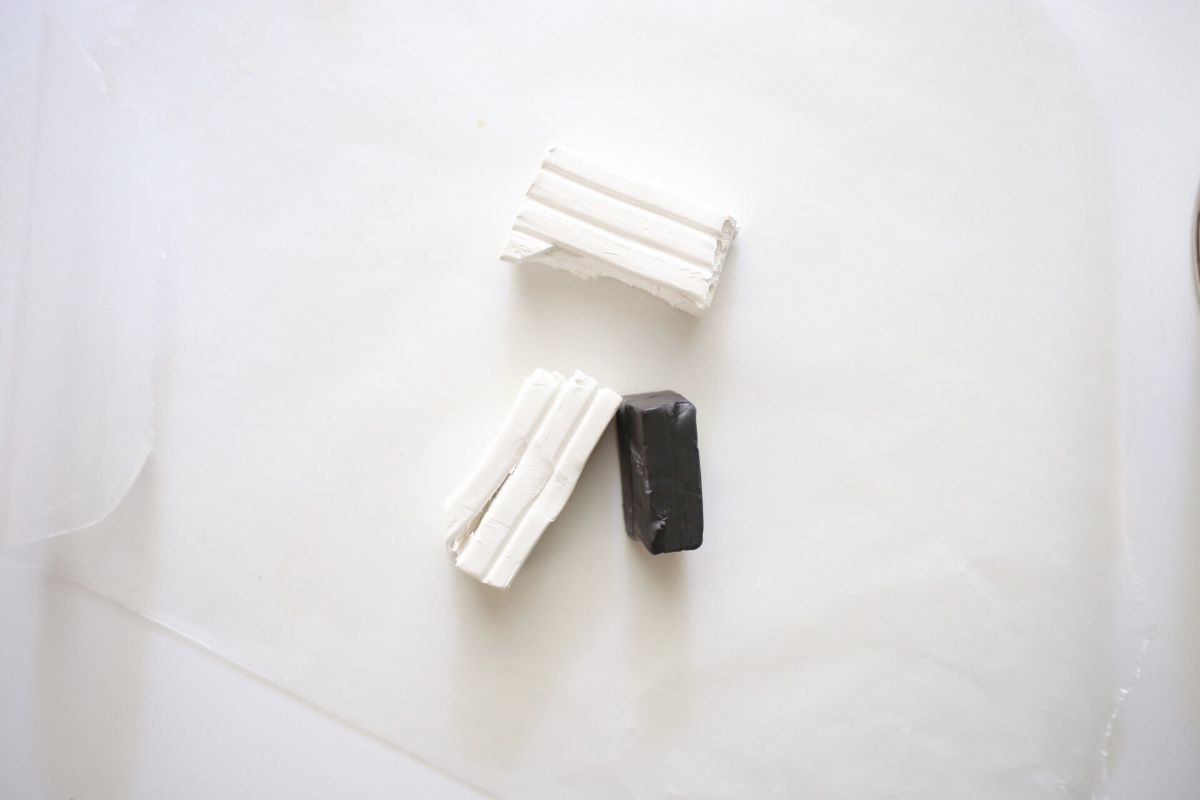
1st step: rolling the clay
Lay out a sheet of wax paper. And then take apart the dirt and cut them into smaller sections. Take each individual slice and commencement rolling it with your hands to make the dirt more than malleable.
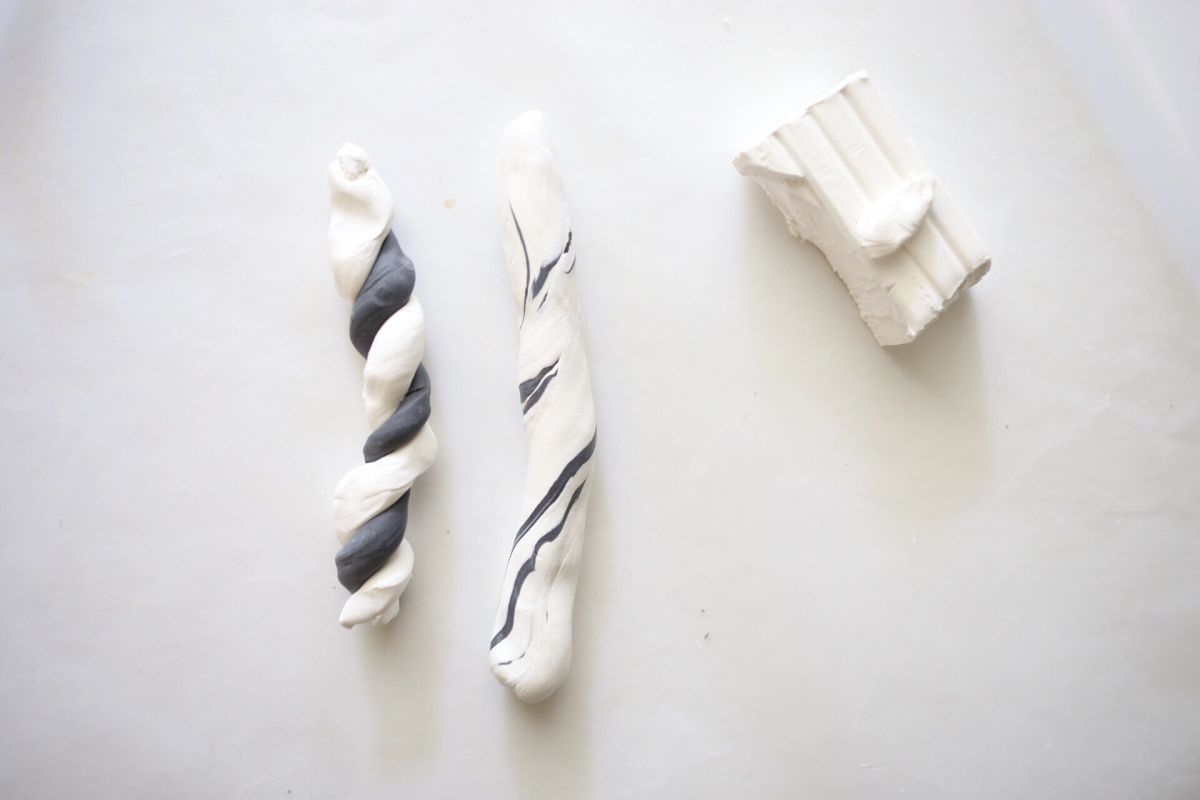
2d Stride: mix both colors
Take a black piece of clay and curl it out, do the same with the white clay. The amount of white clay should be twice every bit much as the black clay. To create the marblized await you volition have to do 3 steps: twist the two colors together, roll information technology, and so fold information technology. Repeat these steps about iii-iv times. Try non to mix it the colors also much or the two colors will blend into a solid grey.
3rd step: employ pivot roll
Combine all the clay that was mixed together and roll information technology into a large ball. Once you have done that, grab your roller pin and roll the clay flat. Decide on how thick or thin yous want you plate to exist, but brand sure not to roll information technology out as well thin.
fourth step: create your desire form
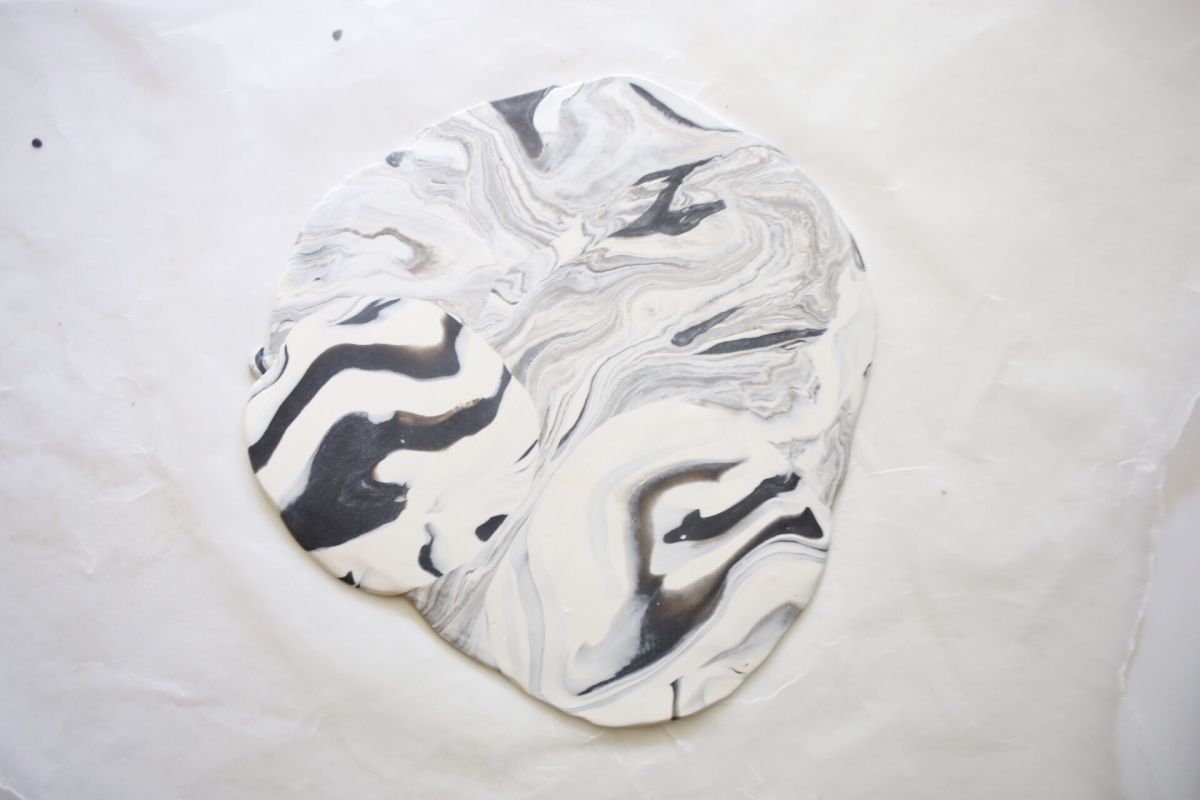
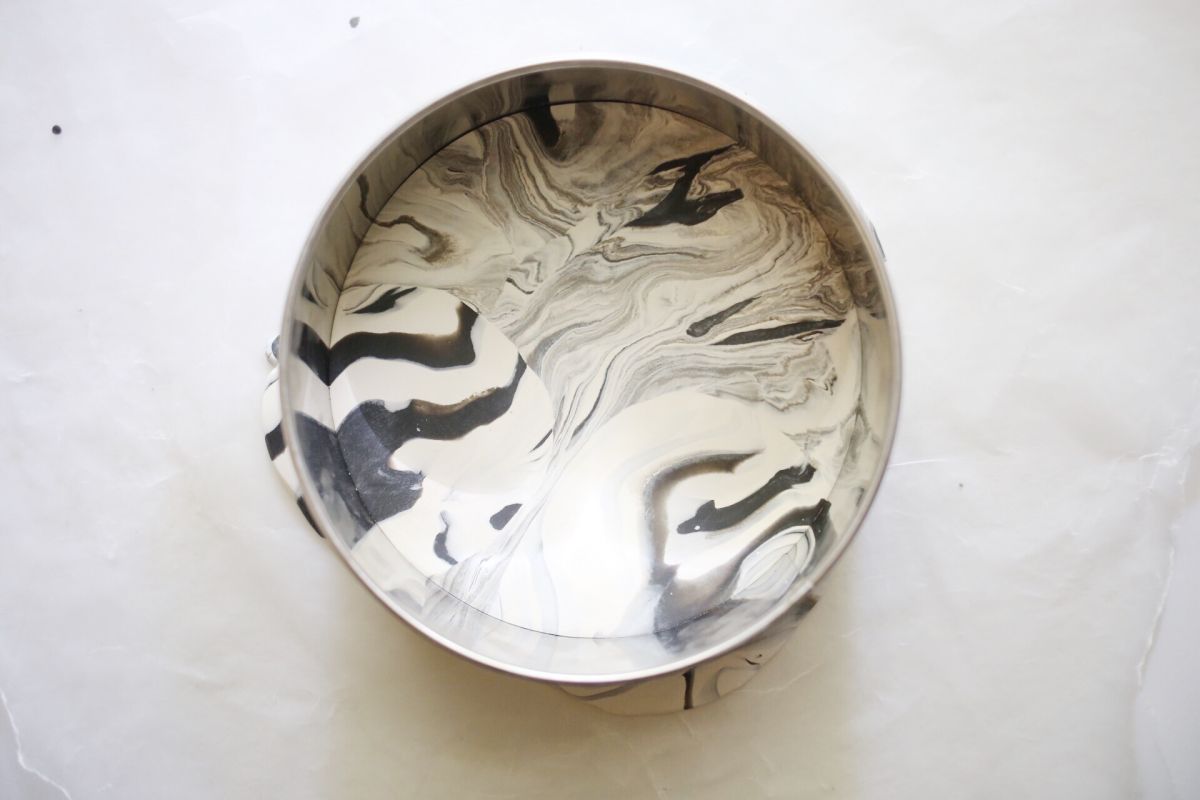
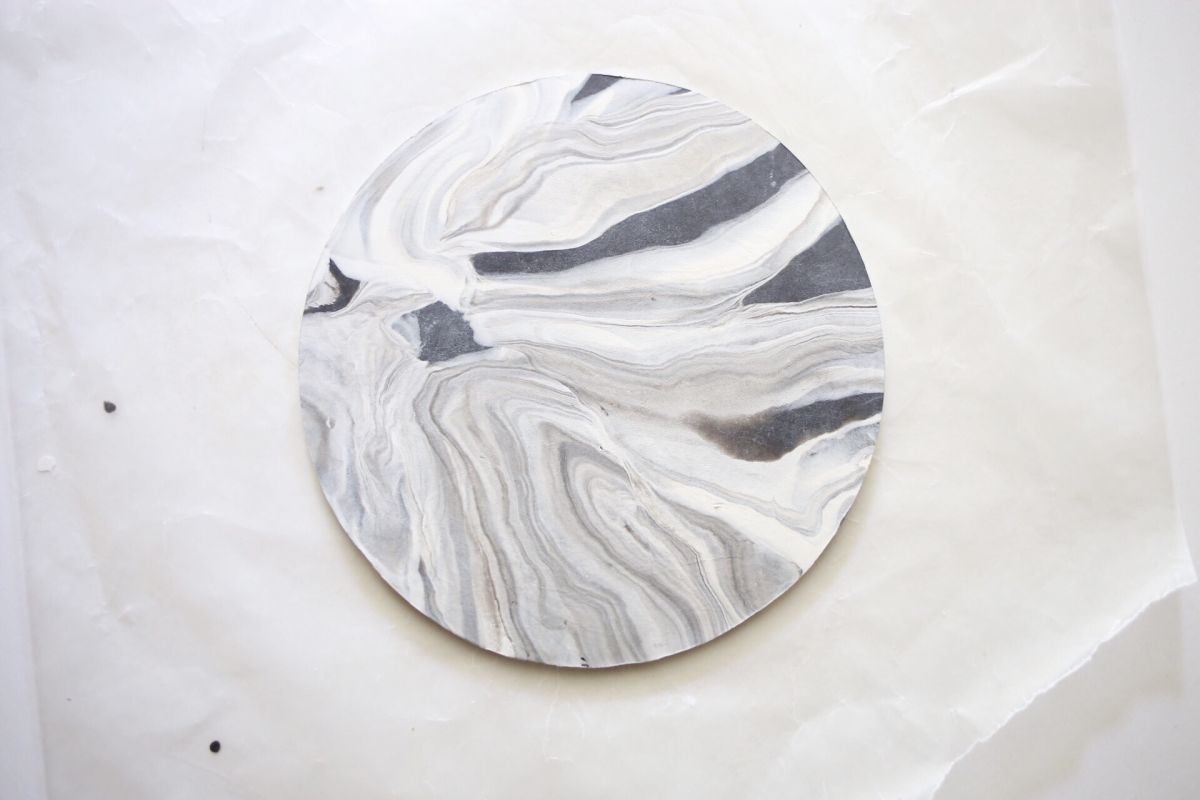
Take the circular cookie cutter and carefully cut out a circle.
5th footstep: add in the oven
In one case you have cut out the circle, preheat the oven to 275 degrees. Take a sheet of wax paper and place information technology on top of a pan, and carefully place the dirt piece on summit of the wax newspaper. It will have almost 25-35 minutes for it fully bake.
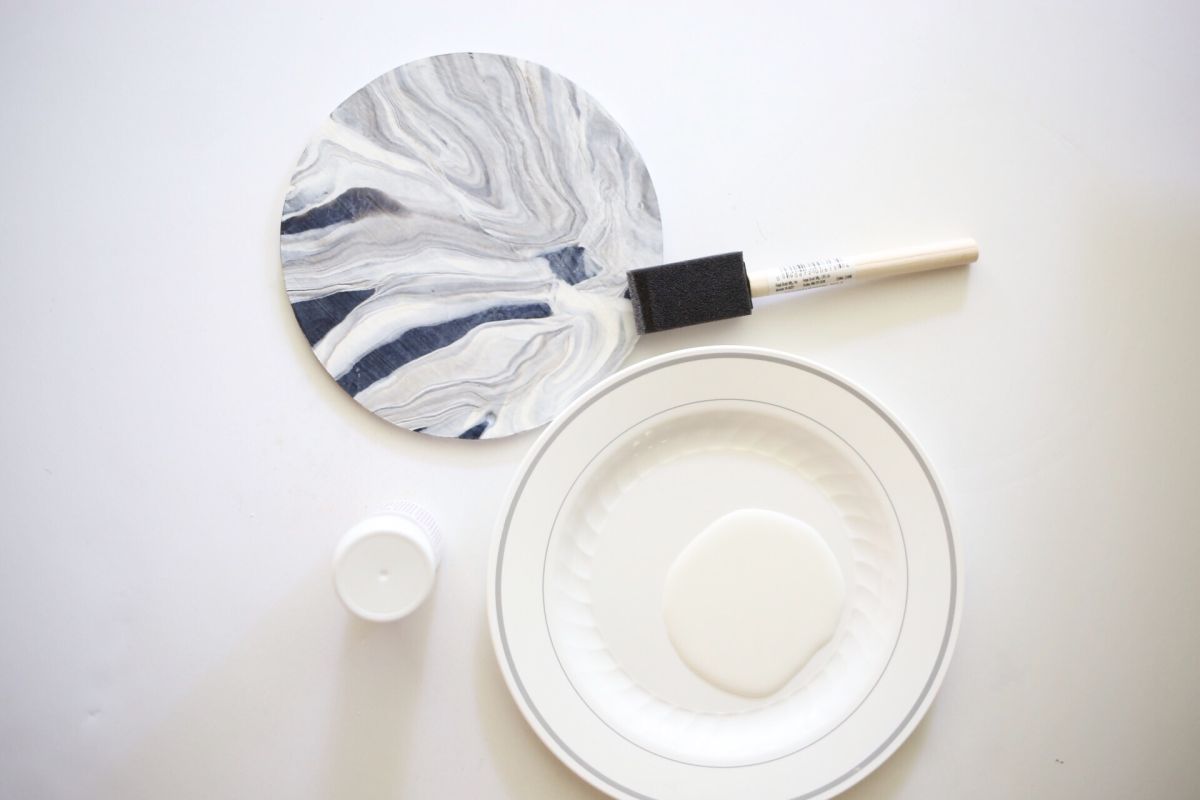
6th pace: painting process
Let the dirt slice cool downward for a couple minutes afterwards taking it out of the oven. Paint a layer of the clay glaze on one side and wait 30 minutes for it to dry. Once it completely dried, paint a layer of the glaze on the opposite side.

Conclusion
Your creation is now all gear up to hold all your beautiful jewelry! Hope you lot enjoyed this DIY project.
Happy crafting!
Source: https://www.diys.com/marble-jewelry-dish/
0 Response to "DIY Marble Jewelry Dish With Clay - How To Keep Them Organized"
Enregistrer un commentaire